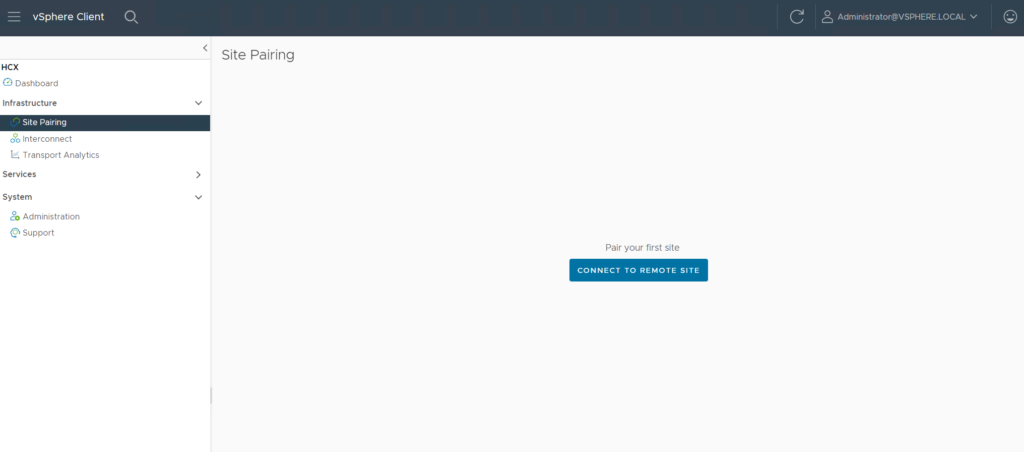
1、サイトペアリングの実施 Site PairingCONNECT TO REMOTE SITEをクリック
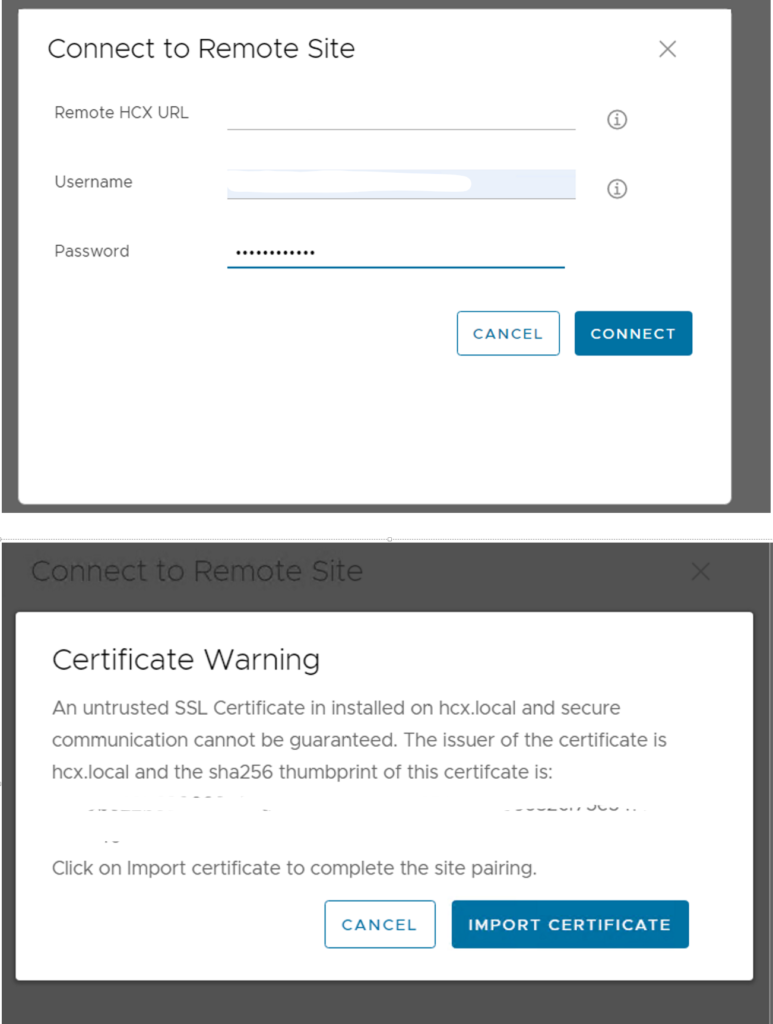
2、AVS側のHCX ManagerのURLを入力してCONNECTをクリック
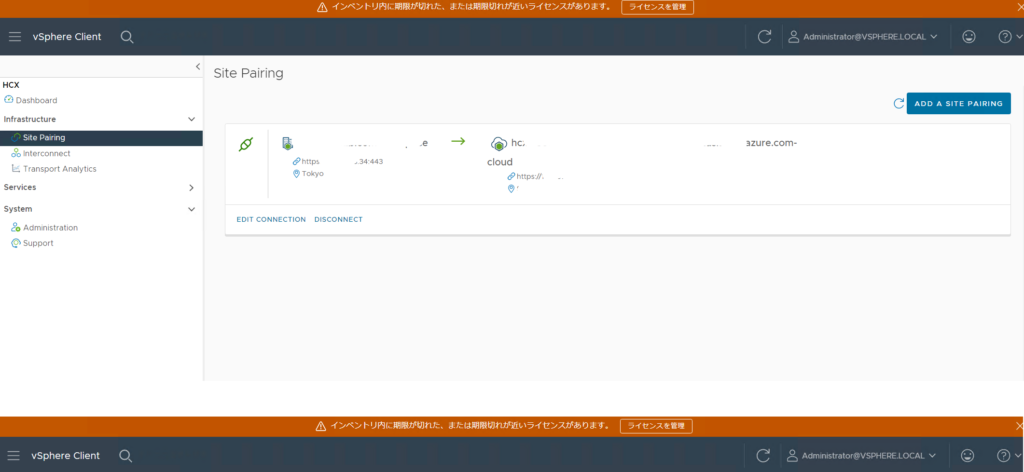
3、オンプレvSphere環境とAVS側と接続が完了
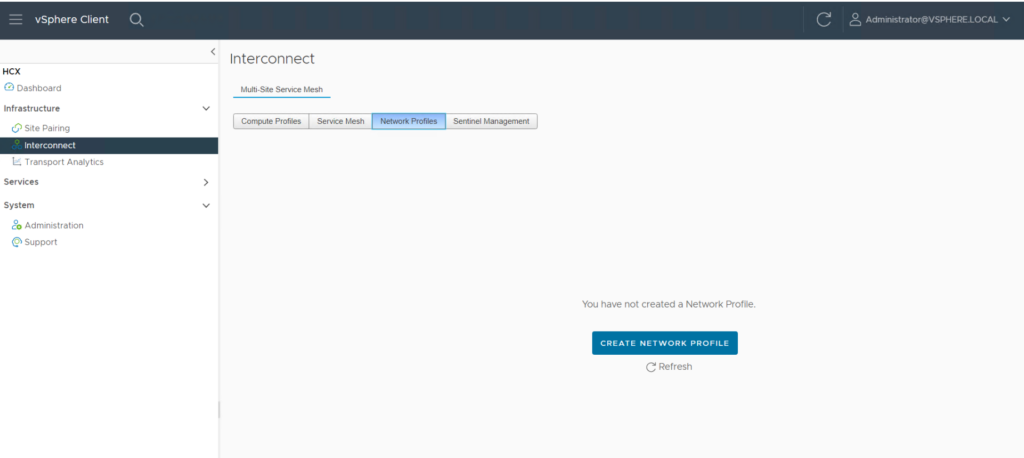
4、ネットワークプロファイルを作成
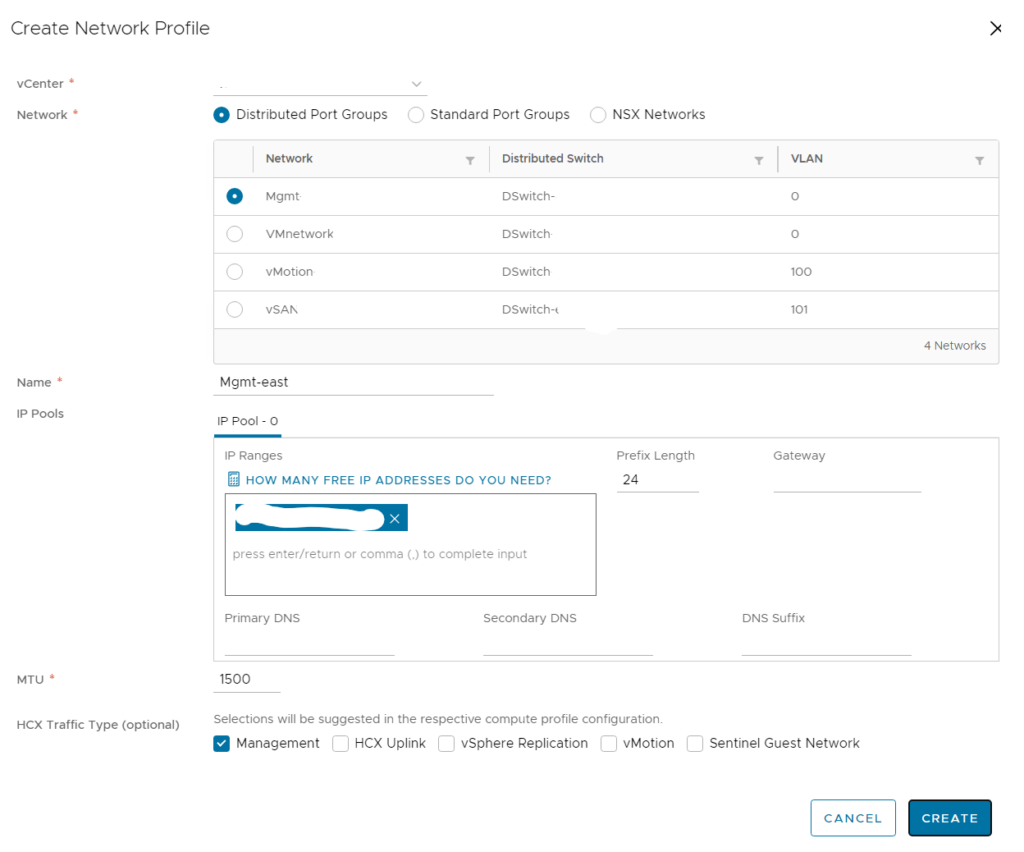
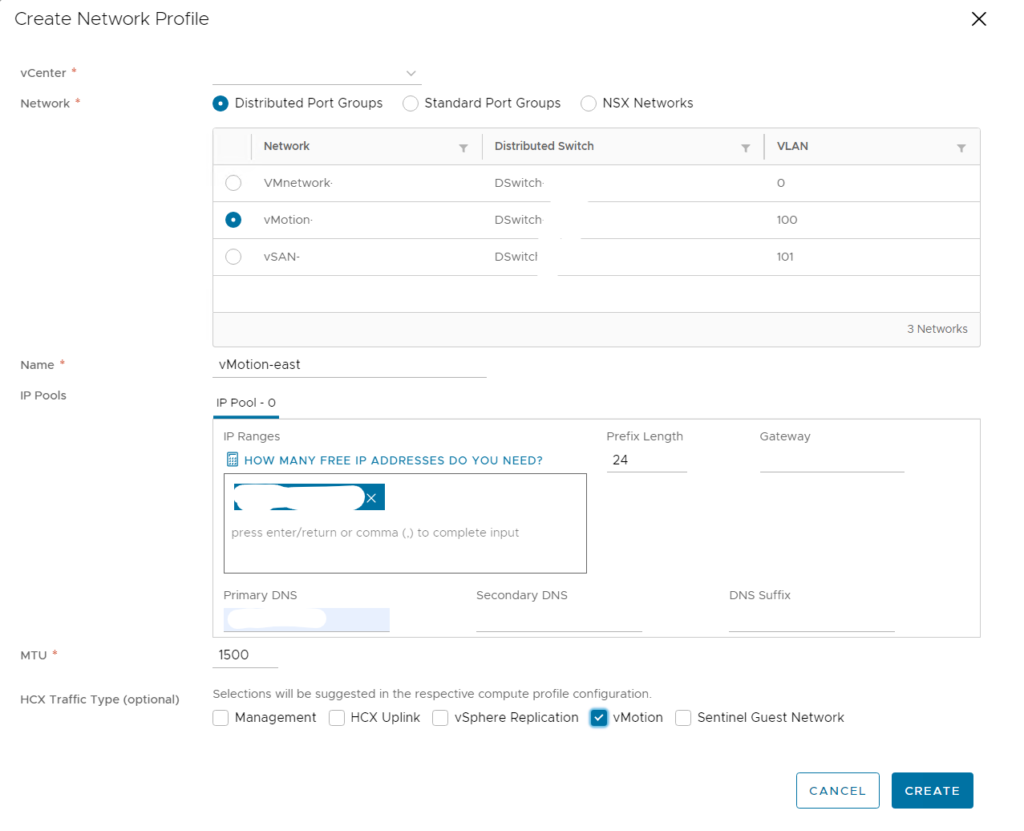
5、HCXコンポーネントで利用する管理、vMotionネットワークを指定し作成
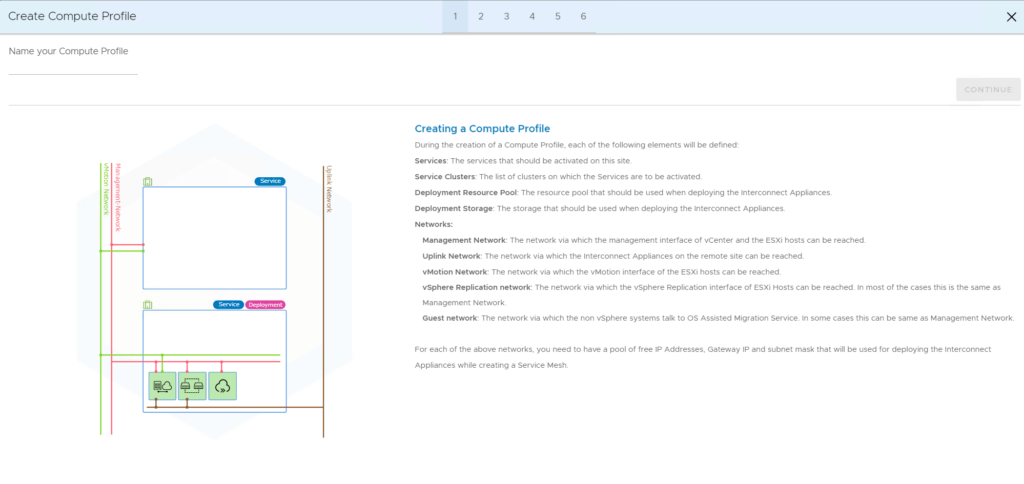
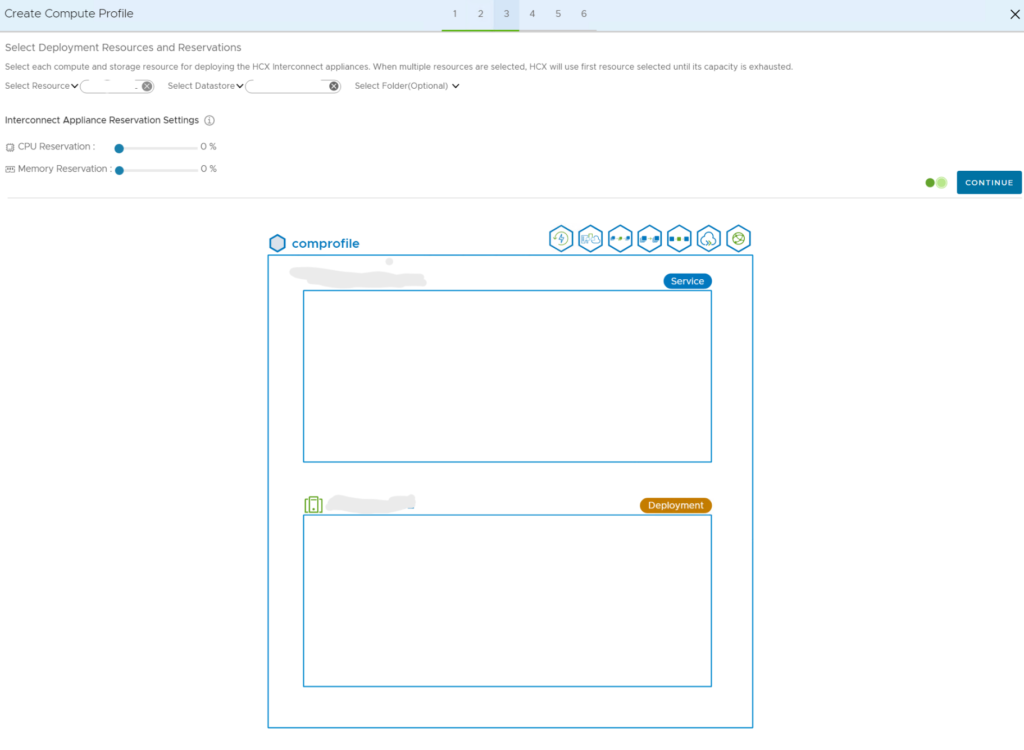
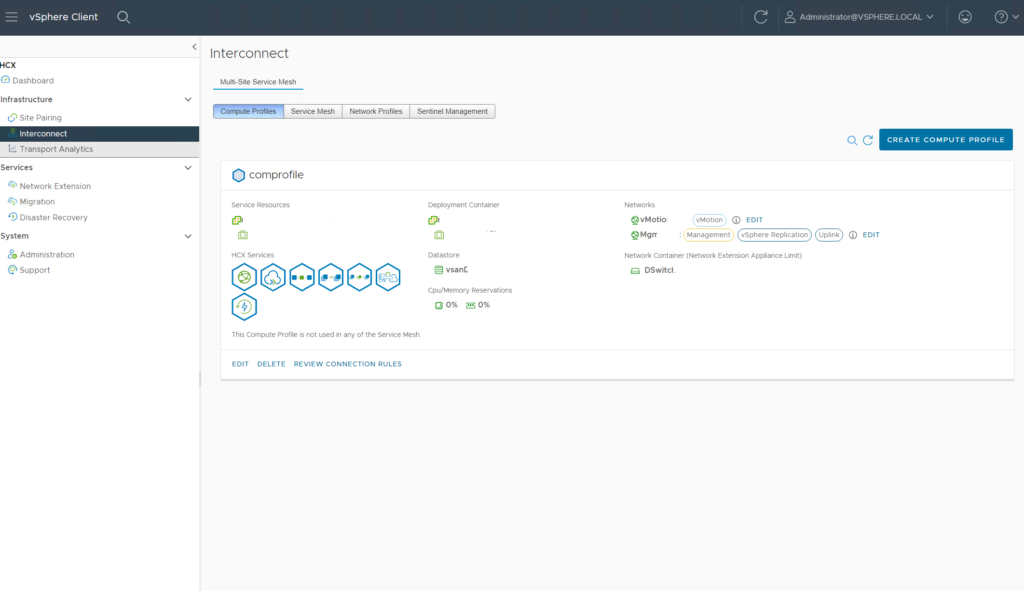
6、コンピュートプロファイルを作成
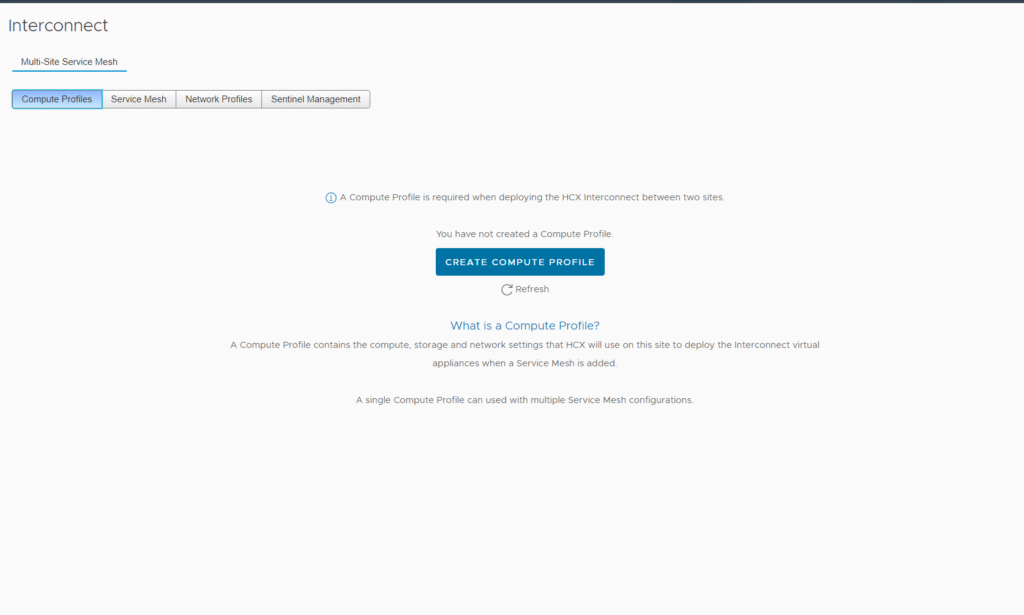
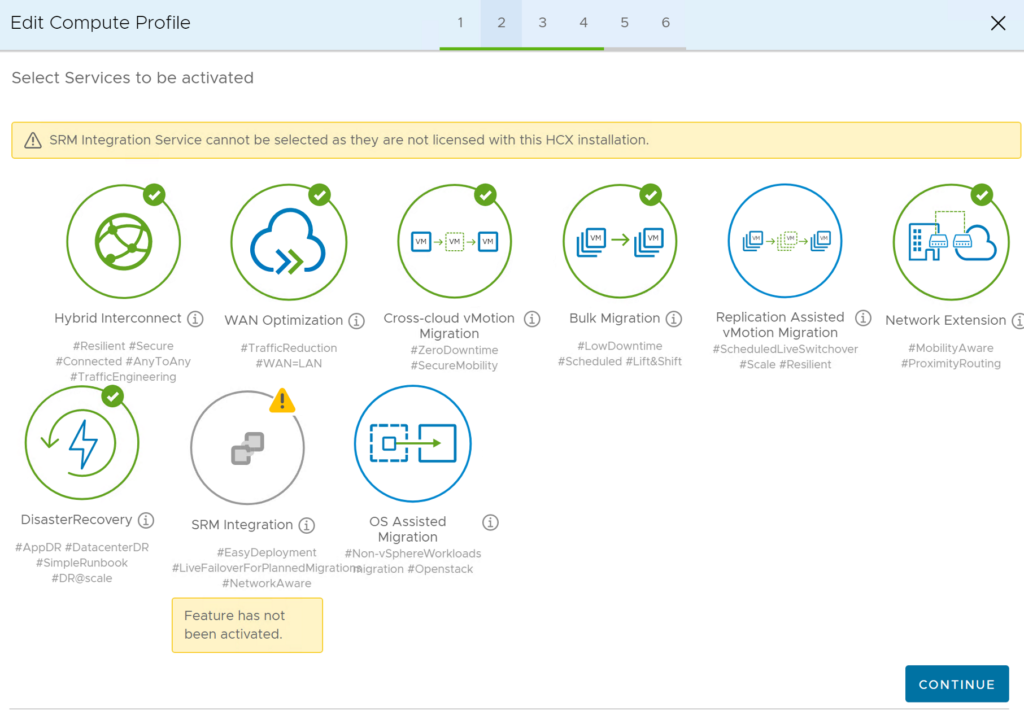
7、コンピュートプロファイルについての説明を確認
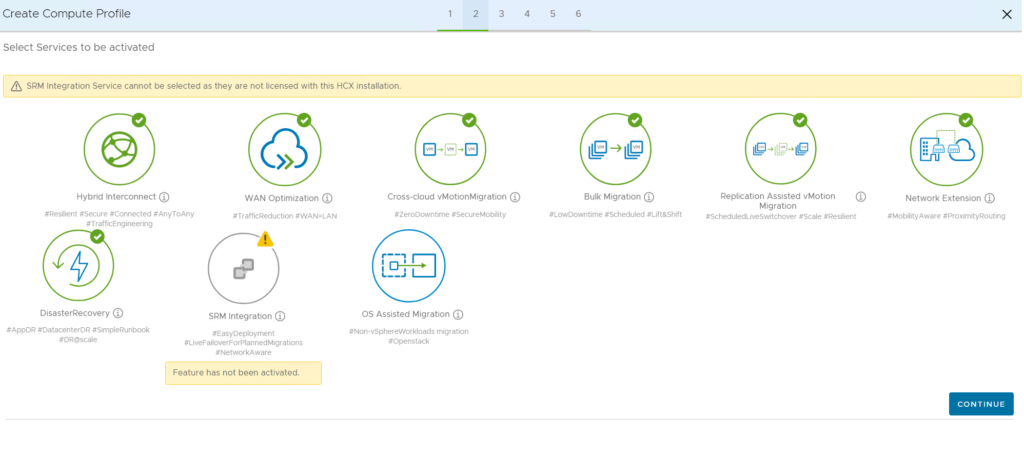
8、デプロイするコンポーネントを選択
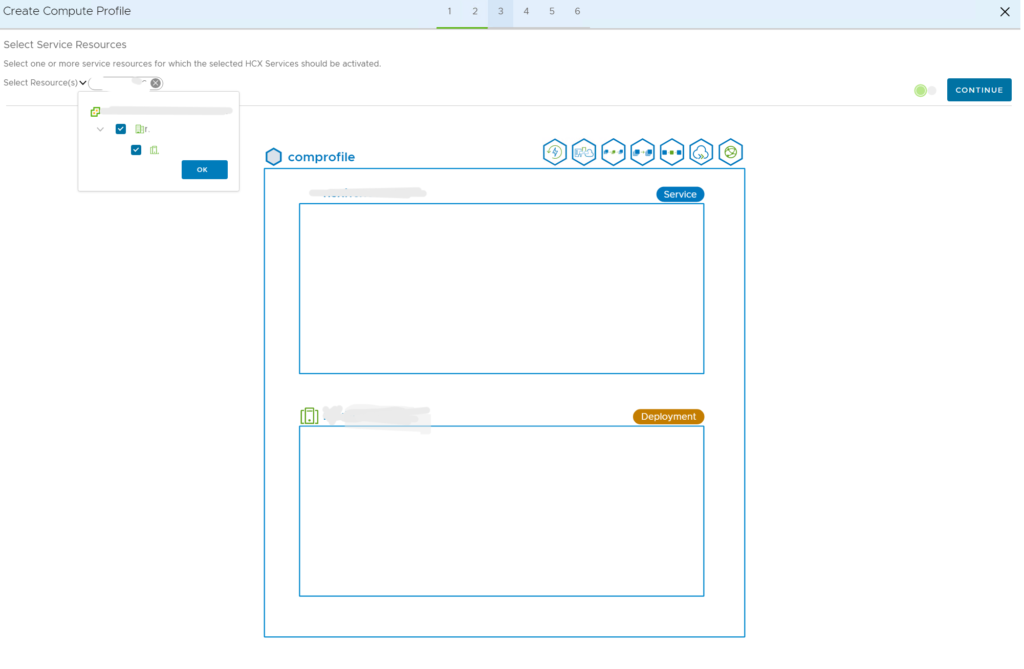
9、オンプレ側の利用するリソースを選択
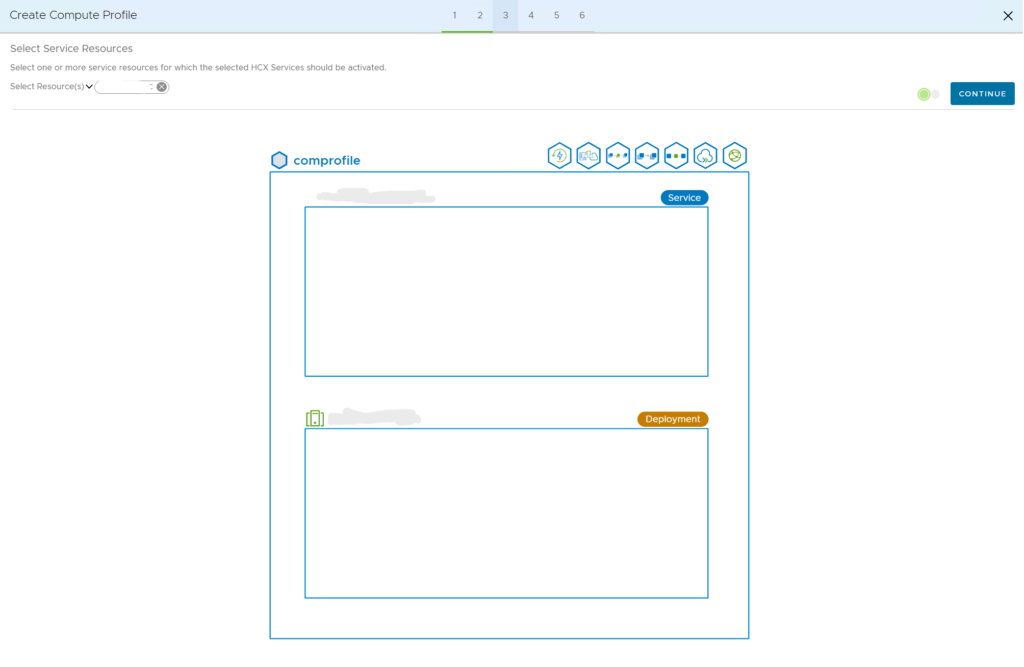
10、オンプレ側の利用するリソースを選択
11、CPUやメモリの予約設定もできるはここでは0%
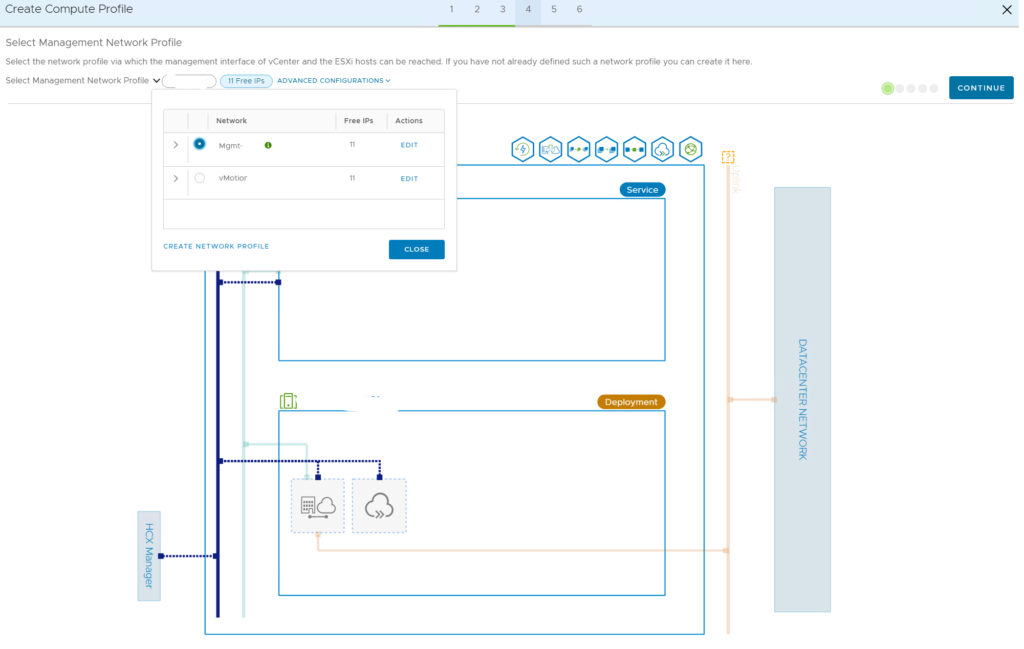
12、事前に設定したネットワークプロファイルが表示されるので管理ネットワーク選択
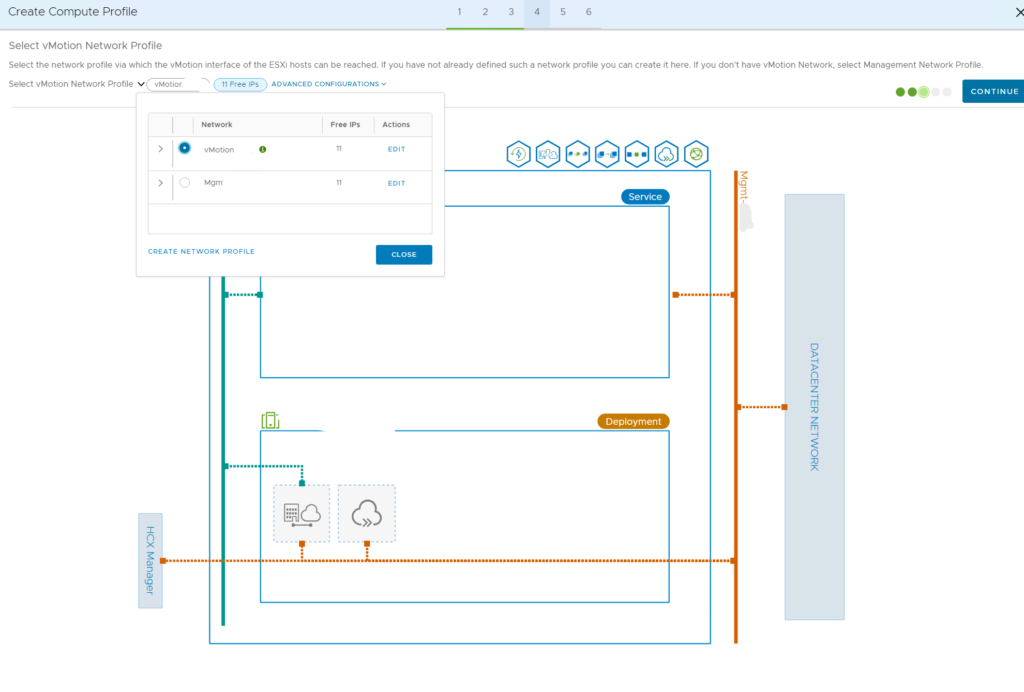
13、vMotionネットワークを選択
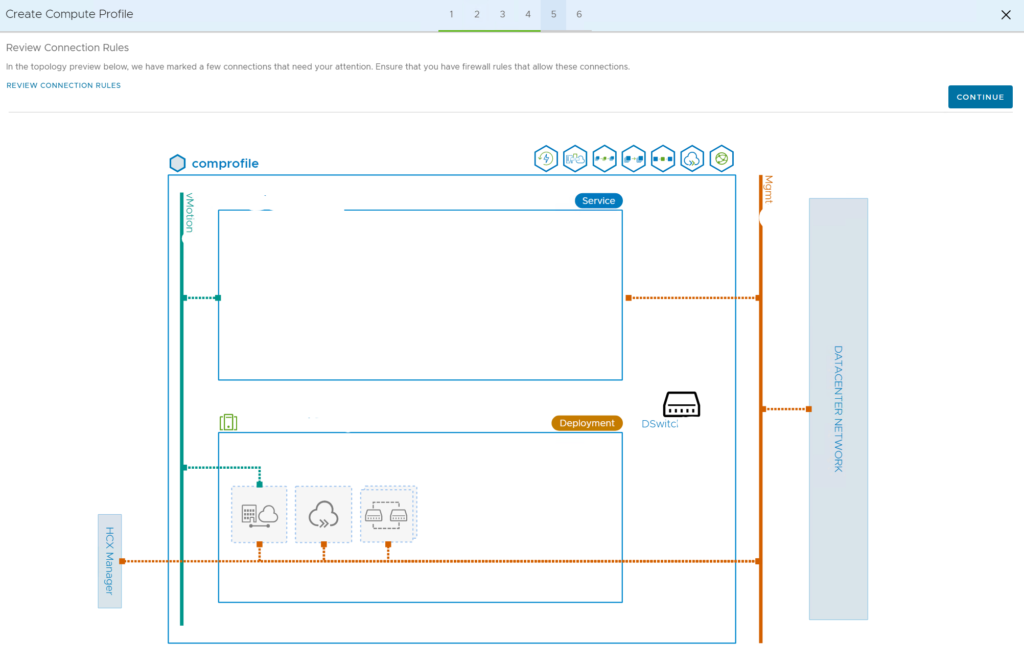
14、利用する分散スイッチを選択

15、オンプレ側全体の設定を確認
16、設定した内容が表示されるので確認
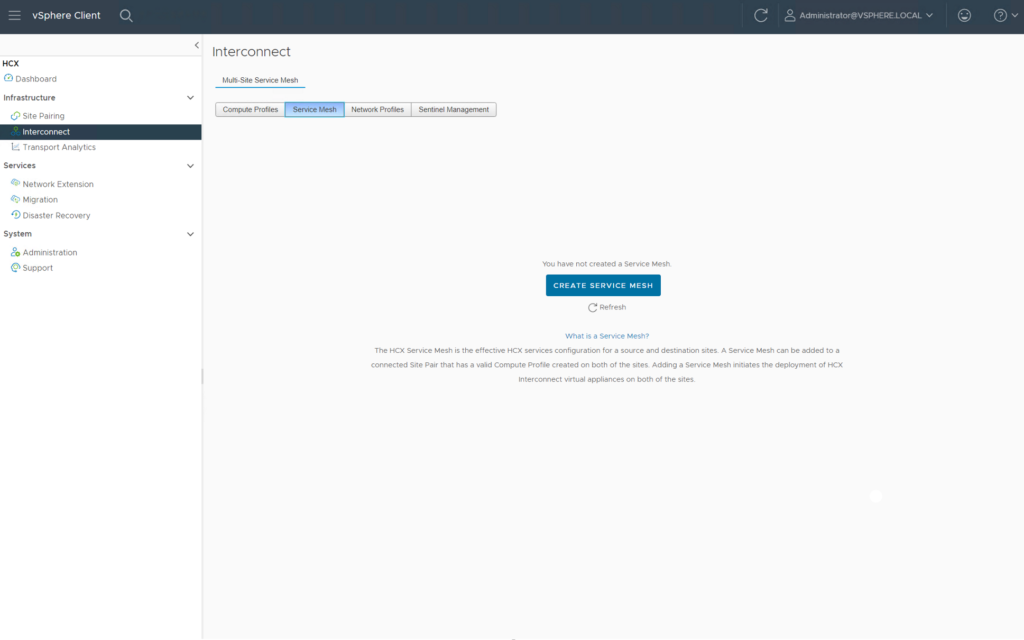
17、サービスメッシュを作成
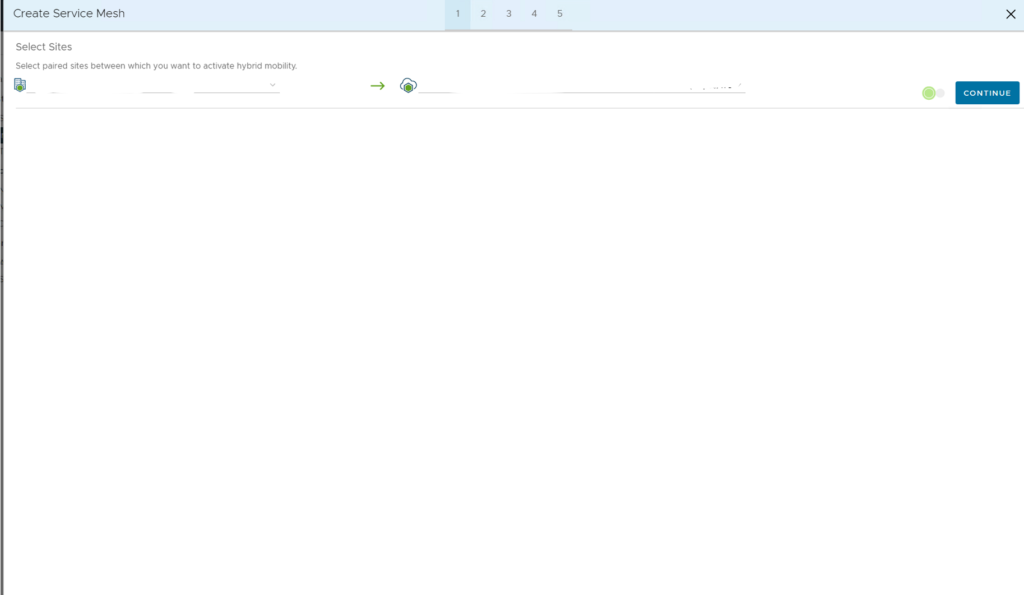
18、オンプレ側とAVS側が選択されているのを確認
19、AVS側のコンピュートプロファイルを選択
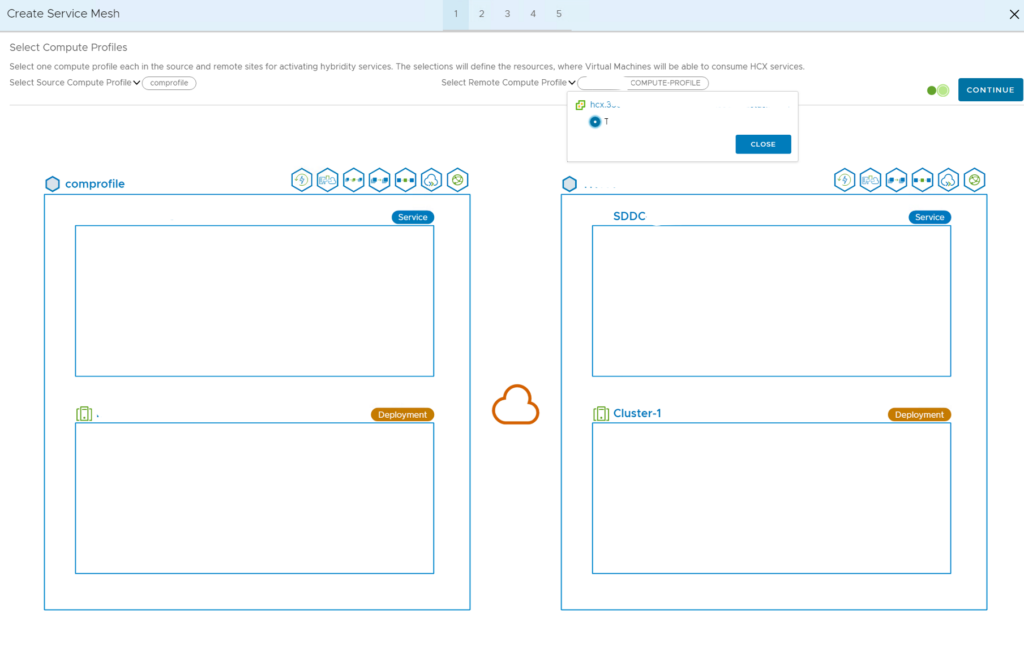
20、AVS側のデプロイコンポーネントを選択
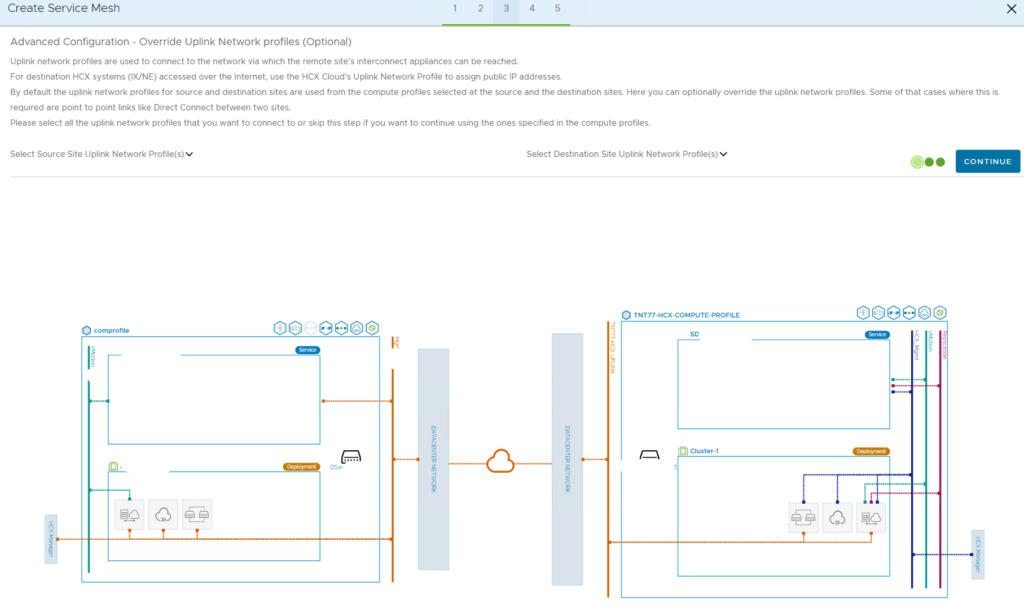
21、両サイトで設定される論理図を確認
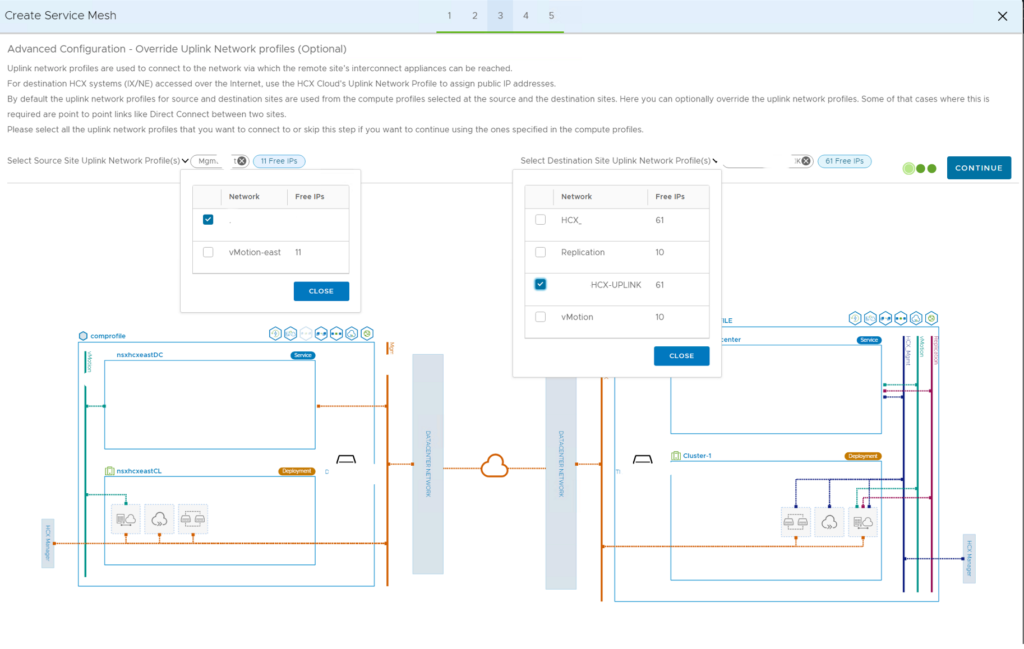
22、両サイトでアップリンクを設定
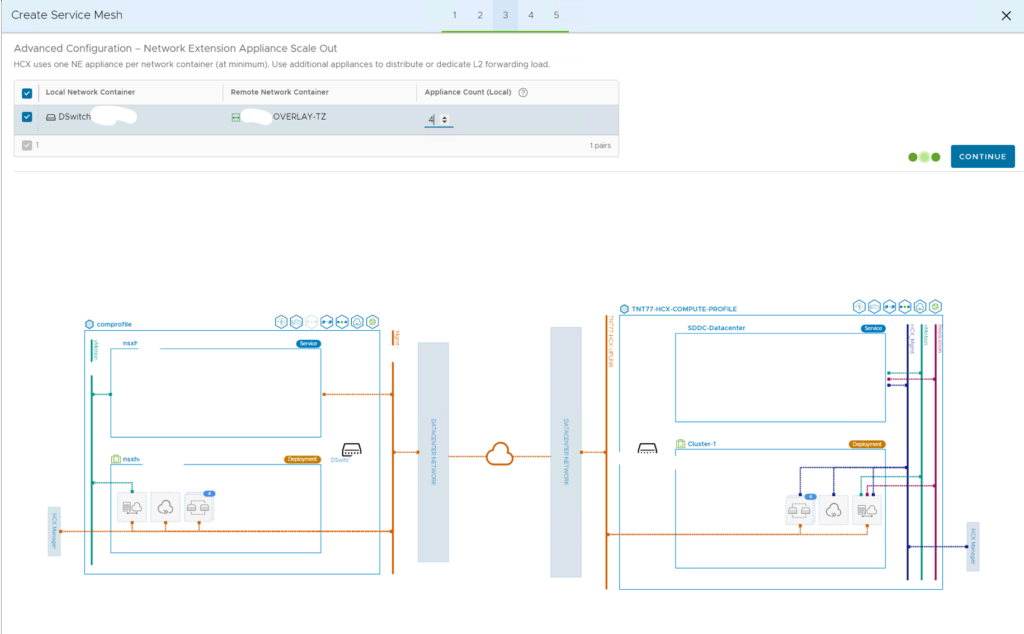
23、L2延伸用のNEアプライアンスの数を指定(NEアプライアンス毎に8VLANなので数が必要)
24、詳細設定を必要に応じて設定(QoS等)
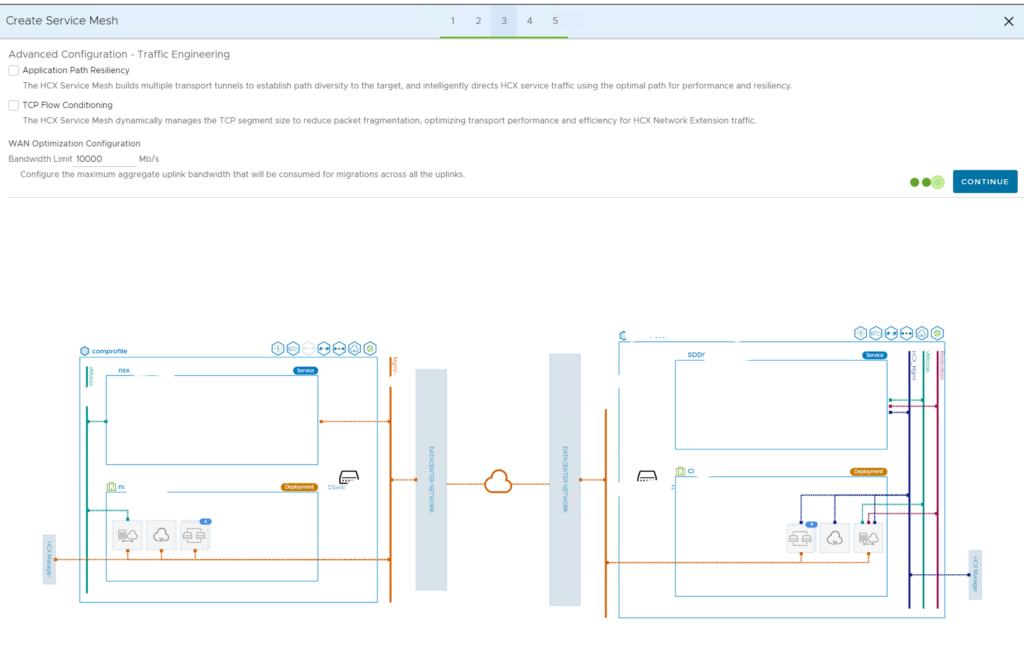
25、全体のレビューとこの組み合わせ?の名前を入力
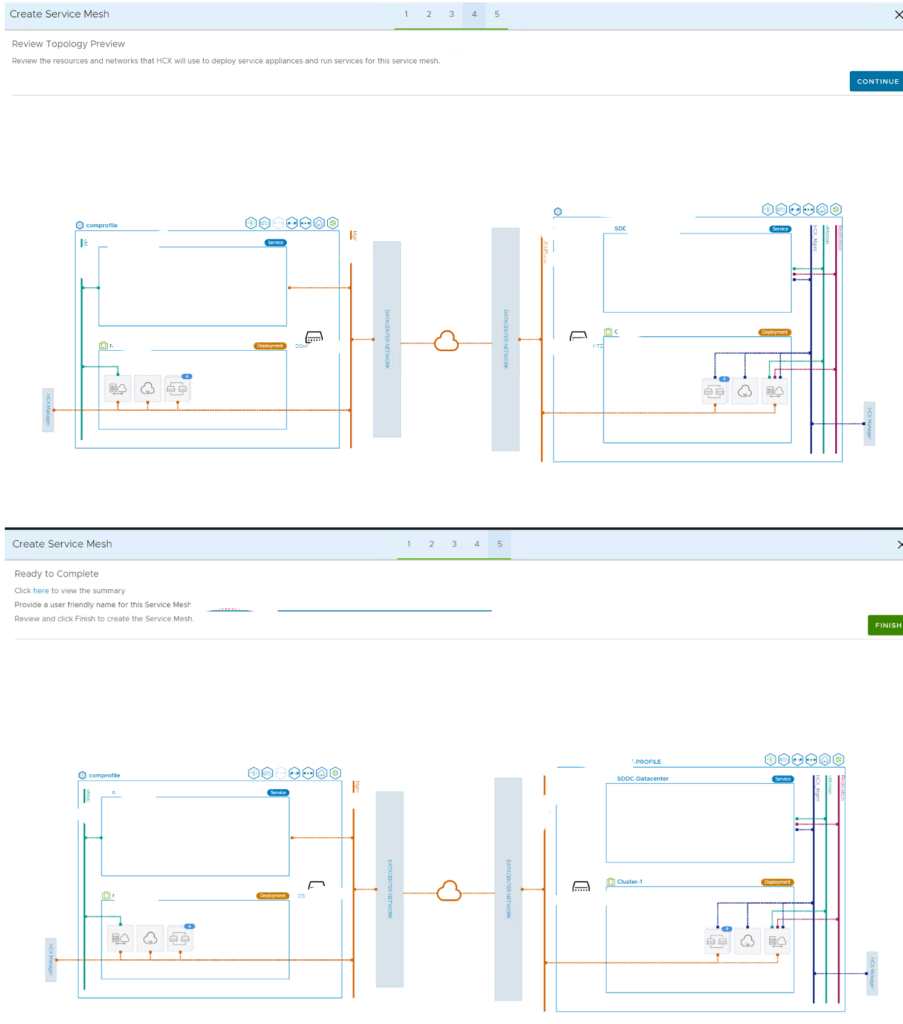
26、デプロイ開始
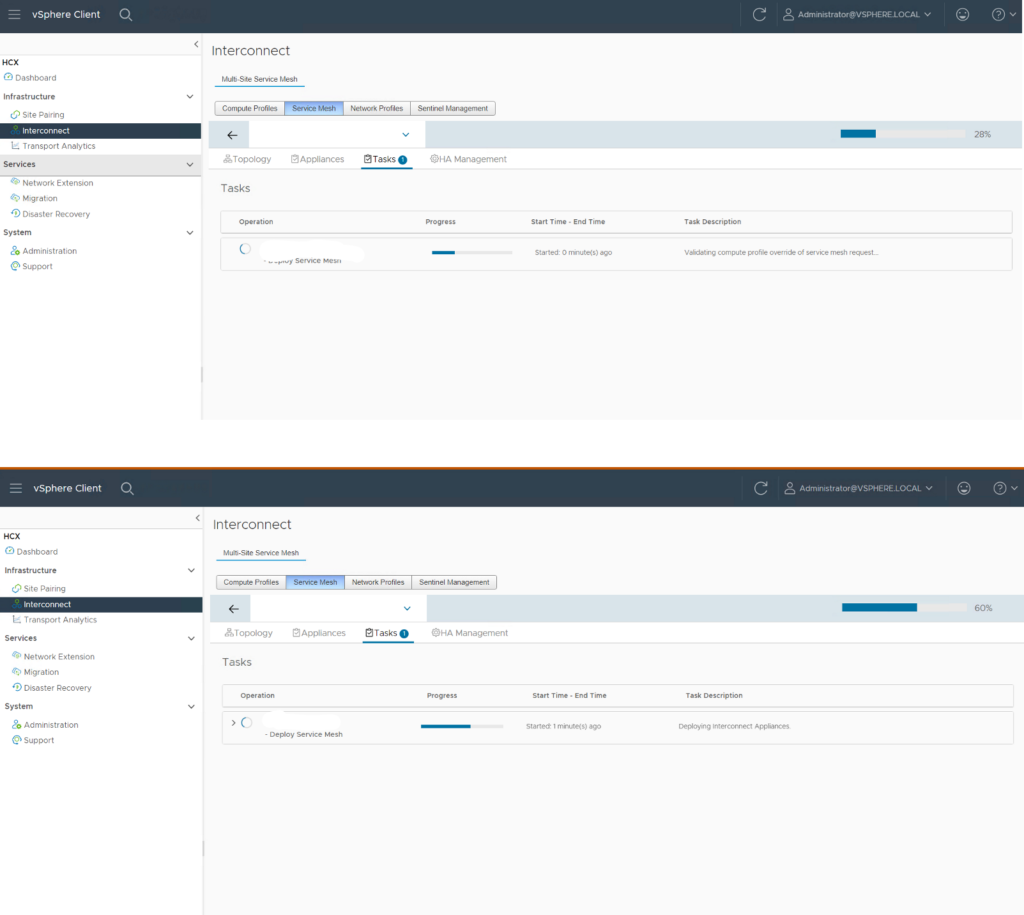
27、デプロイ完了
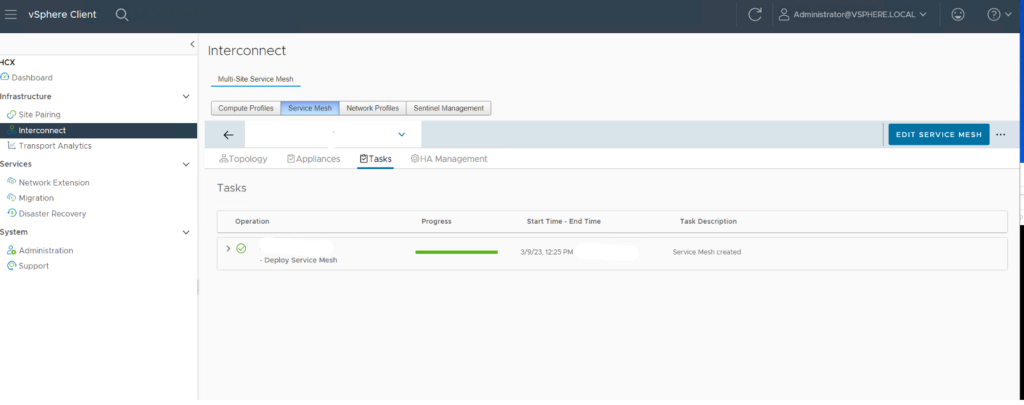
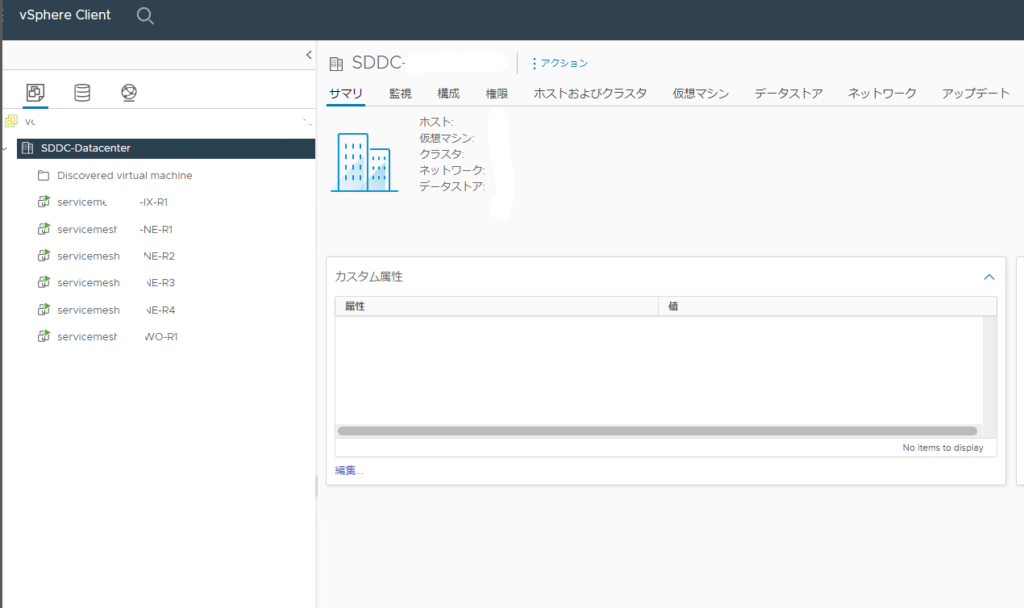
28、アプライアンスがデプロイされているのを確認

コメント